Design Your Menu: Create a Digital Masterpiece
Back to Digital MenuWhat you’ll need
- Access to the TaoRocket Console
- Digital Menu subscription activated
- Permission: Manage online menu
- Basic product and category information ready to build your menu
1. Creating a New Digital Menu
- Navigate to Digital Menu > Menus in the TaoRocket Console.
- Click the New Menu button to open the creation form.
- Fill in the required fields:
- Menu Title: This name appears in your menu list for easy identification.
- Menu Header: Choose whether to display a logo or text title at the top of the menu your customers see.
- Unique Name: This creates your menu’s public URL (check Your Menu URL: Customizing the Link Name for more details).
- Default Language: Select the language your menu will show first (you can add others later).
- Store: (Optional) Link this menu to a specific store for multi-location setups.
- Click Create to save and start building your menu.
2. Adding Categories and Items
After creating your menu, you’ll enter the menu builder. Here’s what each tab lets you do:
- Items: Add categories, text blocks, art blocks, and menu items. Manage the structure and content of your menu.
- Languages & Translations: Add languages to your menu and provide translations for menu content.
- Header & Style: Customize the menu’s header with logos or titles, adjust colors, fonts, and background styles.
- Social Media: Add links to your social profiles to connect with customers through your menu.
- Menu Settings: Manage general menu settings including unique URL, SEO options, and publishing controls.
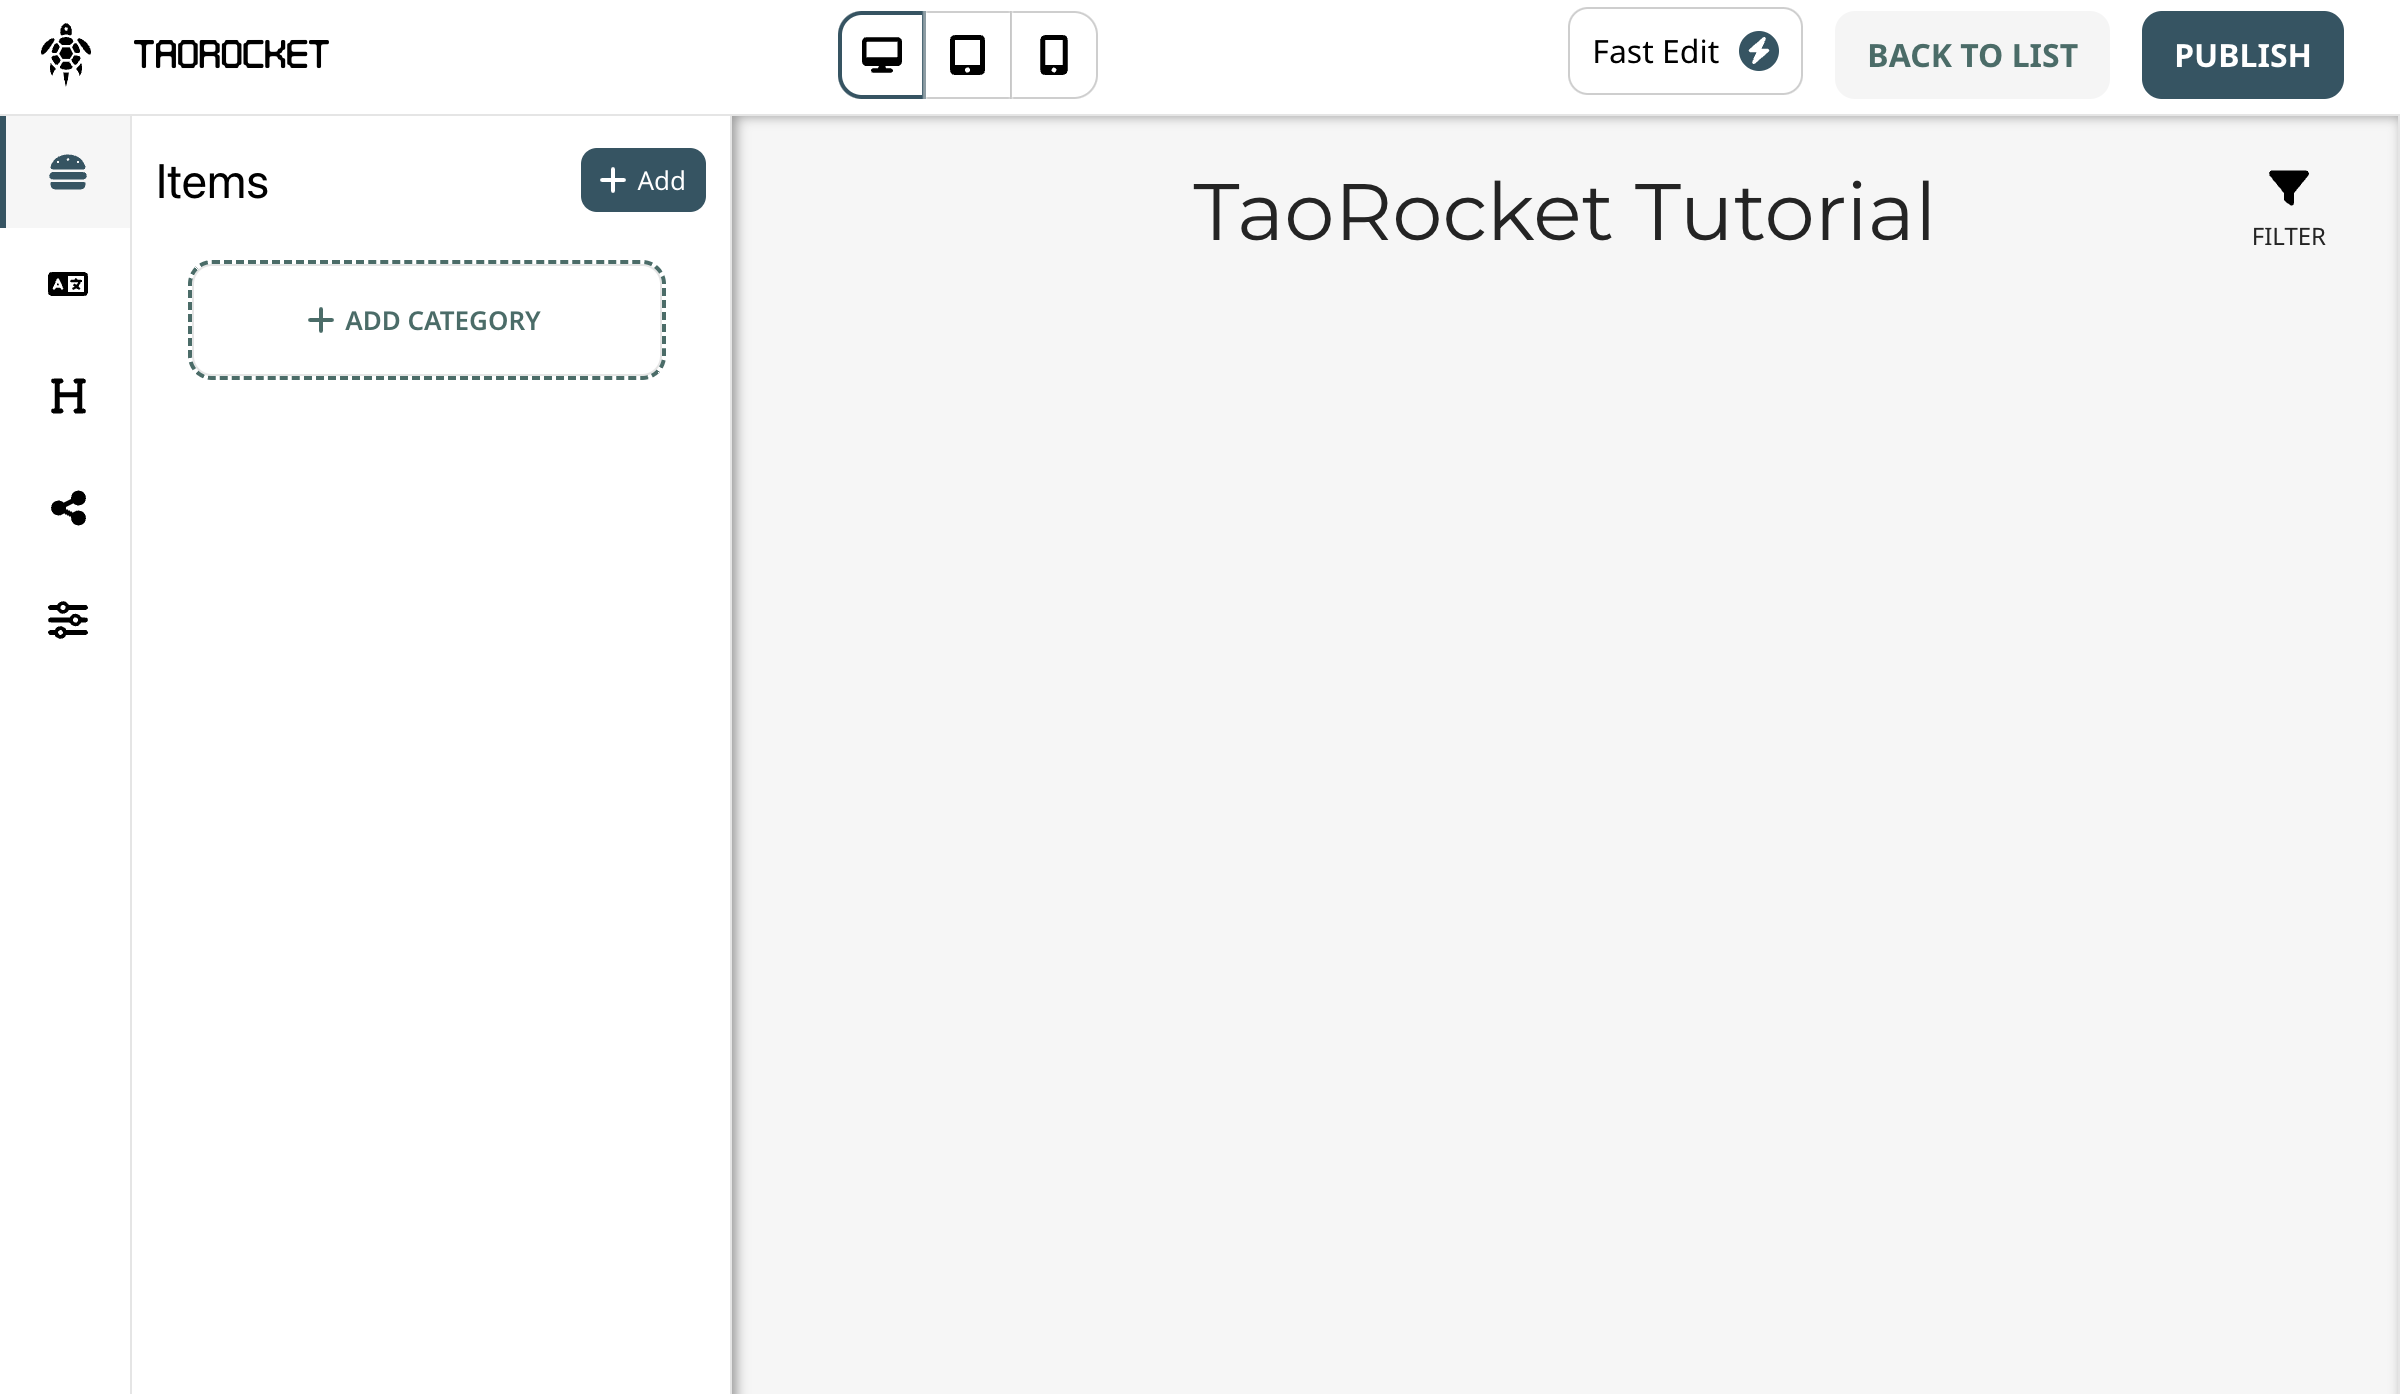
Add Categories
- Click the + ADD CATEGORY button to create a new group for your menu items (e.g., “Appetizers”, “Main Courses”).
- Fill in the category name and optional description.
- Add an image or background for visual appeal (JPEG/PNG up to 3MB).
- Adjust image cropping to fit the 16:9 ratio for categories.
Add Items
- Inside a category, click + ADD ITEM to add new dishes or products.
- Fill in item details like name, description, price, allergens, and preferences.
- Upload images and set backgrounds if desired (JPEG/PNG, max 3MB).
- Items can have variations such as size or toppings—add these under each item.
3. Save and Preview Your Menu
- Use the preview toggle to view how your menu looks on desktop, tablet, and mobile devices.
- Make edits as needed, and click Update to save changes.
4. Next Steps: Customize and Publish
You’ve built the core of your menu! To refine it further:
- Customize layout and order items — see Design & Organize: Menu Layout & Item Order
- Add translations — see Speak Their Language: Translating Your Menu
- Set allergy filters — see Filter for Safety: Allergy Options
- Add social and contact links — see Connect & Stay Reachable: Social & Contact Links
- Generate QR codes and share your menu — see QR Quick-Link: Generating Your Menu QR Code
- Publish your menu online — see Live & Online: Publishing Your Menu
Creating your digital menu with TaoRocket is simple and powerful. With the easy setup and rich customization options, you’ll offer your customers a delightful browsing experience — anytime, anywhere.
🎉 Start building your digital masterpiece today!